

The Mortgage Closing Process: What Happens Step by Step
After weeks of house hunting, offers, and inspections, you reach the final stretch: the mortgage closing process. Closing is the sequence of steps that transfers the property from seller to buyer and puts your mortgage into effect. It involves paperwork, verifications, money changing hands, and a final meeting where you sign the documents that make the home yours. This guide explains each step in plain language so you can walk into closing day prepared rather than anxious. As with all our guides, this is educational information, not financial advice.
Why Closing Deserves Your Attention
Many buyers treat closing as a formality — a stack of papers to sign while the coffee goes cold. In reality, closing is where the details of your loan become final and legally binding. The interest rate, the monthly payment, the fees, and the conditions you agreed to weeks earlier are all locked in at the closing table. Mistakes caught here can still be fixed; mistakes discovered after funding are far harder and more expensive to unwind.
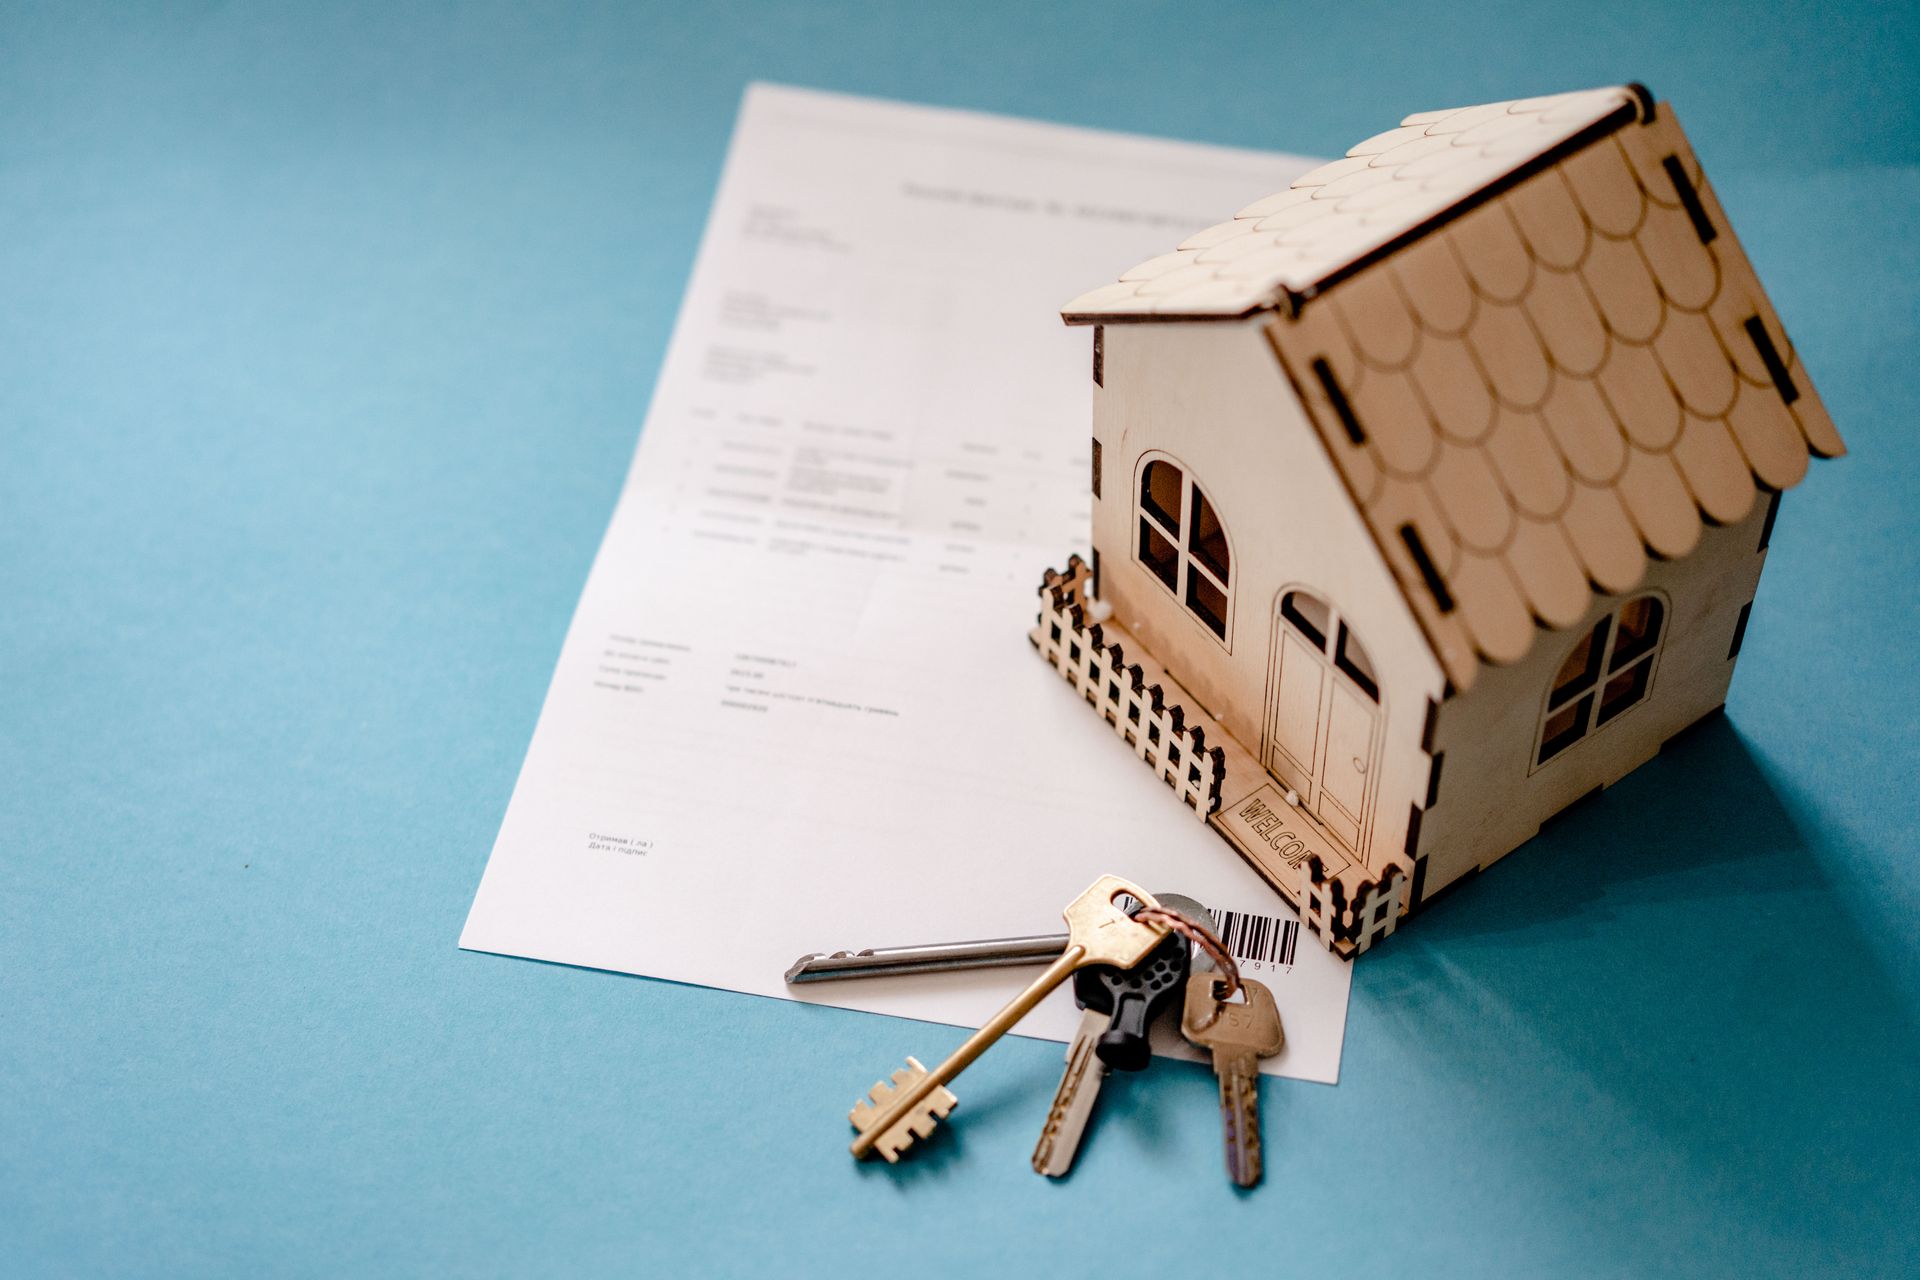
Closing also tends to be the most document-heavy part of buying a home. You may sign dozens of pages in a single sitting. Understanding the process in advance turns that blur of signatures into a series of deliberate, informed decisions.
Key Takeaways
- Closing is a process, not a single event. It typically spans several weeks from final loan approval to the day you get the keys.
- Review documents before closing day. You are usually entitled to see key closing documents in advance — use that time to read them carefully.
- Bring the right funds in the right form. Closing payments generally must be certified or wired funds, not personal checks.
- The final walkthrough is your last inspection. Do the walkthrough as close to closing as possible and confirm the property’s condition.
- This guide is educational, not financial advice. For questions about your specific loan, speak with your lender or an independent professional.
Step 1: Final Loan Approval and the Clear to Close
Weeks before closing day, your lender’s underwriter gives the final review of your file. You may remember the initial underwriting from earlier in the process; this is the last pass, confirming that nothing material has changed since you were approved. Lenders commonly re-verify employment and may pull a final credit check. This is why every mortgage advisor repeats the same warning: do not open new credit accounts, make large purchases on credit, or change jobs between approval and closing without talking to your lender first.
When the underwriter is satisfied, the lender issues what the industry calls a “clear to close” — internal confirmation that your loan is approved for funding. From this point, the closing can be scheduled. If the underwriter flags an issue, you will receive a list of conditions to satisfy first, such as an updated pay stub or an explanation for a bank deposit. Respond to these requests quickly and with exactly the documentation asked for; incomplete responses are one of the most common causes of closing delays.
Step 2: Reviewing the Closing Disclosure
One of the most important documents in the entire mortgage closing process is the Closing Disclosure. This standardized form details your final loan terms, monthly payment, and all closing costs. In the United States, lenders must deliver it at least three business days before closing; the UK, Canada, and Australia have their own disclosure rules, but the principle is the same: you get the final numbers in writing before you commit.
Compare the Closing Disclosure line by line against the Loan Estimate you received when you applied. Most figures should match closely. Regulations generally limit how much certain costs can change, and any significant increase requires an explanation — and in some cases, a new three-day review period. Pay particular attention to:
- Loan amount, interest rate, and monthly payment — confirm these match what you agreed to, and note whether the rate is fixed or adjustable.
- Closing costs — origination charges, appraisal and inspection fees, title-related costs, prepaid interest, and escrow deposits.
- Cash to close — the total amount you must bring to the closing table, including your down payment plus closing costs minus any credits.
- Seller credits or concessions — confirm any agreed credits appear and are calculated correctly.
If anything looks wrong, contact your lender immediately — not the morning of closing. Our guide on reading a personal loan agreement covers the same careful-review habits that apply here: compare final paperwork against the original offer, and question every discrepancy.
Step 3: The Final Walkthrough
The final walkthrough is your last chance to inspect the property before it becomes yours, and it should happen as close to closing as possible — ideally within 24 hours. Its purpose is narrow but important: confirm the property is in the condition you agreed to buy, that agreed repairs were completed, and that nothing has been removed or damaged since your last visit.
Bring your inspection report and the purchase agreement. Check that:
- All fixtures, appliances, and items included in the sale are present and working.
- Agreed repairs were actually completed — ask for receipts or documentation if major work was done.
- No new damage has occurred (water stains, broken windows, missing fixtures).
- The property is empty of the seller’s belongings unless otherwise agreed.
If you find problems, do not simply proceed and hope for the best. Your options typically include delaying closing until repairs are made, negotiating a credit at closing, or having funds held in escrow for the repair. Your real estate agent can advise on which approach fits the situation — and get any agreement in writing before closing day.
Step 4: Preparing Funds for Closing Day
The “cash to close” figure from your Closing Disclosure must be paid at closing, and how you pay it matters. Closing agents generally do not accept personal checks for large sums. Expect to provide:
- A cashier’s check or bank draft from your bank, made out to the closing agent or as instructed.
- A wire transfer sent before closing day, with the wiring instructions verified by phone using a known number — wire fraud targeting homebuyers is a real and growing problem, so never trust wiring instructions that arrive by email alone.
Confirm the exact amount and payee with the closing agent a day or two before closing, since last-minute adjustments (prorated taxes, for example) can shift the figure slightly. Also bring a government-issued photo ID, and check whether your state or country requires additional identification or documentation.
One more financial preparation: keep some funds in reserve beyond the cash to close. Moving costs, immediate repairs, and utility deposits arrive fast in the first weeks of homeownership, and buyers who empty every account at closing often feel the pinch immediately after. Keeping a modest emergency buffer untouched through closing day is one of the smartest moves a new homeowner can make, since the first month of ownership always brings surprise expenses beyond the moving truck.
Step 5: Closing Day — What Actually Happens
Closing day itself is usually a meeting — at a title company, attorney’s office, lender’s office, or increasingly via a remote online closing — where you sign the final documents and the funds are disbursed. Plan for one to two hours, though complex transactions can take longer. Here is what typically unfolds, in order:
- Identity verification and document review. The closing agent confirms your identity and walks through the key documents before you sign.
- Signing the promissory note. This is your personal promise to repay the loan — the core debt document. It states the loan amount, interest rate, payment schedule, and what happens if you default.
- Signing the mortgage or deed of trust. This document pledges the property as collateral for the loan and gives the lender specific rights if you fail to pay. The exact form varies by jurisdiction.
- Signing the closing disclosure and settlement statement. You acknowledge the final numbers, confirming they match what you reviewed in advance.
- Signing affidavits and ancillary documents. These include statements about occupancy (that you intend to live in the home), tax forms, and compliance certifications.
- Funding and disbursement. Your loan funds, down payment, and closing costs are combined and distributed: the seller is paid, the seller’s existing mortgage is satisfied, agents and service providers receive their fees, and any required escrow accounts are funded.
- Recording. The deed and mortgage are recorded with the local land registry or recorder’s office, making the transfer and the lender’s lien a matter of public record.
- Keys. Once funding is confirmed and recording is underway, you receive the keys. The home is yours.
Take your time with each signature. The closing agent expects questions — asking them is a sign of a careful buyer, not a difficult one. If a document differs from what you reviewed in advance, stop and resolve the difference before signing.

Step 6: After Closing — What to Handle in the First Weeks
Closing day is not quite the finish line. Several follow-up items deserve attention in the first weeks of ownership:
- Confirm your first payment. Know the amount, the due date, and where to send it. Your loan may be transferred to a servicing company shortly after closing — you will receive notice, and the terms do not change, but the payment address might.
- Set up escrow understanding. If your payment includes escrow for taxes and insurance, understand how the escrow account works and review the annual escrow analysis when it arrives.
- File for tax benefits. Depending on your jurisdiction, you may need to file a homestead exemption or claim mortgage-related tax deductions. Note the deadlines.
- Store your documents. Keep the full closing package — note, mortgage, disclosure, deed — in a safe, findable place, digitally and physically. You will need these if you ever refinance your mortgage, sell, or dispute anything.
- Review your homeowner’s insurance. Confirm coverage is active and adequate from day one; your lender requires it, and gaps can be costly.
Understanding Escrow: Taxes, Insurance, and Your Monthly Payment
Many buyers are surprised to learn that their monthly mortgage payment includes more than principal and interest. If your lender requires an escrow account — common when down payments are modest — a portion of each payment is set aside for property taxes and homeowner’s insurance. The lender then pays those bills on your behalf when they come due.
At closing, you will typically pre-fund the escrow account with several months of tax and insurance payments. This upfront deposit, shown on your Closing Disclosure, ensures the account has a cushion from day one. Each year, the lender performs an escrow analysis: if taxes or insurance rose, your monthly payment may increase to cover the shortfall; if they fell, you may receive a refund or a lower payment.
Escrow protects both you and the lender — it prevents a missed tax bill from creating a lien that would threaten the lender’s collateral position. Some borrowers prefer to manage taxes and insurance themselves, and lenders sometimes allow escrow waivers for a fee or with a larger down payment. If you waive escrow, the discipline of saving for those large annual bills falls entirely on you, so weigh the convenience against the cost honestly.
Closing Costs Breakdown: Where the Money Actually Goes
“Closing costs” is a catch-all term that can feel like a black box, but the Closing Disclosure itemizes every dollar. Understanding the major categories helps you spot errors and negotiate where possible:
- Lender charges. Origination or underwriting fees compensate the lender for processing the loan. These vary between lenders and are the most negotiable line items.
- Third-party services. Appraisal, inspection, survey, and credit report fees pay the professionals who evaluated the property and your application. You can often choose your own providers for some of these.
- Title-related costs. Title search, title insurance (both lender’s and the optional owner’s policy), and settlement fees protect against ownership disputes. The owner’s title insurance is optional but widely recommended — it is a one-time premium that protects your equity for as long as you own the home.
- Prepaids. Prepaid interest covers the days between closing and your first full payment period, and initial escrow deposits fund your tax and insurance reserves.
- Government charges. Recording fees and transfer taxes are set by law and cannot be negotiated, though who pays them is sometimes negotiable in the purchase contract.
As a rough planning figure, buyers often see total closing costs land in the low single-digit percentages of the purchase price, but the exact amount depends heavily on location, loan type, and negotiated credits. The discipline that matters most is the one from our guide on how to read a loan agreement before you sign: compare every final number against the original estimate, and question anything that moved without explanation.
Common Closing Delays and How to Avoid Them
Most closings proceed on schedule, but delays happen. The usual culprits are preventable:
- Last-minute credit changes. New debt or large purchases between approval and closing can force re-underwriting. Keep your financial profile frozen.
- Appraisal issues. If the appraisal comes in below the purchase price, the lender may reduce the loan amount, requiring renegotiation. Build appraisal contingencies into your offer.
- Title problems. Liens, boundary disputes, or ownership claims discovered in the title search must be resolved before closing. Title insurance protects you after closing, but clearing issues beforehand avoids delays.
- Missing documentation. Respond to lender requests the same day whenever possible, and send exactly what was asked for.
- Wire and funding timing. Wires sent late in the day can miss cutoff times. Initiate transfers early and confirm receipt.
A delay of a few days is an annoyance; a delay caused by preventable issues is a lesson. The buyers who close on time are usually the ones who treated the weeks before closing as carefully as the house hunt itself.
Remote and Digital Closings: What Changes When You Sign Online
An increasing number of jurisdictions now permit remote online closings, where you sign documents electronically and verify your identity over a secure video session with a notary. The legal effect is identical to an in-person closing, but the logistics differ in ways worth preparing for.
First, technology requirements: you will need a reliable internet connection, a device with a camera and microphone, and sometimes a specific signing platform or app installed in advance. Test everything a day early — discovering a microphone problem two minutes before your appointment is a preventable crisis. Second, identity verification is stricter, not looser: expect multi-step authentication, credential analysis of your ID, and knowledge-based questions drawn from public records.
Third, the pacing changes. Without a closing agent physically guiding the stack, it is easier to click through documents quickly. Resist that urge. Remote platforms usually let you download or preview every document beforehand — do so, and keep the same habit from our guide on reading loan agreements carefully: compare each final figure against your Closing Disclosure before you sign. Finally, confirm how funds move: remote closings still require wires or certified funds, and the same wire-fraud precautions apply. Verify every instruction by phone.
Frequently Asked Questions
How long does the mortgage closing process take?
From accepted offer to closing day, buyers often experience a timeline of several weeks, depending on the market, the loan type, and how quickly documentation moves. The closing meeting itself typically lasts one to two hours.
Can closing costs be negotiated?
Some can. Origination charges and certain third-party fees vary between providers, which is why comparing Loan Estimates matters. Government recording fees and taxes generally cannot be negotiated. Ask your lender which charges are within their control.
What happens if I find a problem at the final walkthrough?
Raise it immediately with your agent and the closing agent. Common resolutions include delaying closing until the issue is fixed, a seller credit at closing, or escrowed funds for the repair. Do not close and hope — get the resolution documented before you sign.
Do I need a lawyer at closing?
It depends on your jurisdiction — some require an attorney, others use title companies or notaries. Even where not required, buyers with complex situations sometimes hire one for peace of mind. Ask your agent what is customary and required in your area.
What is the difference between the promissory note and the mortgage?
The promissory note is your personal promise to repay the debt — the “IOU.” The mortgage (or deed of trust) is the security instrument that pledges the property as collateral and gives the lender rights against the property if you default. You sign both at closing.
Can I back out at closing?
Until you sign the closing documents, you can generally still walk away, though you may forfeit deposits or face contractual consequences depending on your purchase agreement. After signing and funding, unwinding the transaction is difficult. If something feels wrong at the table, pausing is almost always cheaper than proceeding.

Conclusion
The mortgage closing process rewards preparation. Buyers who review their Closing Disclosure in advance, complete the final walkthrough carefully, prepare funds correctly, and ask questions at the table consistently report smoother closings — and fewer surprises afterward. The paperwork is dense, but every document has a purpose, and understanding those purposes turns closing day from an ordeal into what it should be: the moment your home officially becomes yours. This guide is educational and not financial advice; for decisions about your own purchase, consult your lender or an independent professional.
Browse more home-financing explainers in our Mortgage & Home Loans section.